Installation of Controller for Wine Cellar Cooling Units
Hello! My name is Dan Phillips, owner and technical adviser for US Cellar Systems. Today, we are going to be covering the installation of our wine cellar refrigeration unit DC Controller. When you order a controller, items you will receive are:
- The controller.
- The mounting clips and the temperature sensor.
- And the temperature sensor.
Then if you want them:

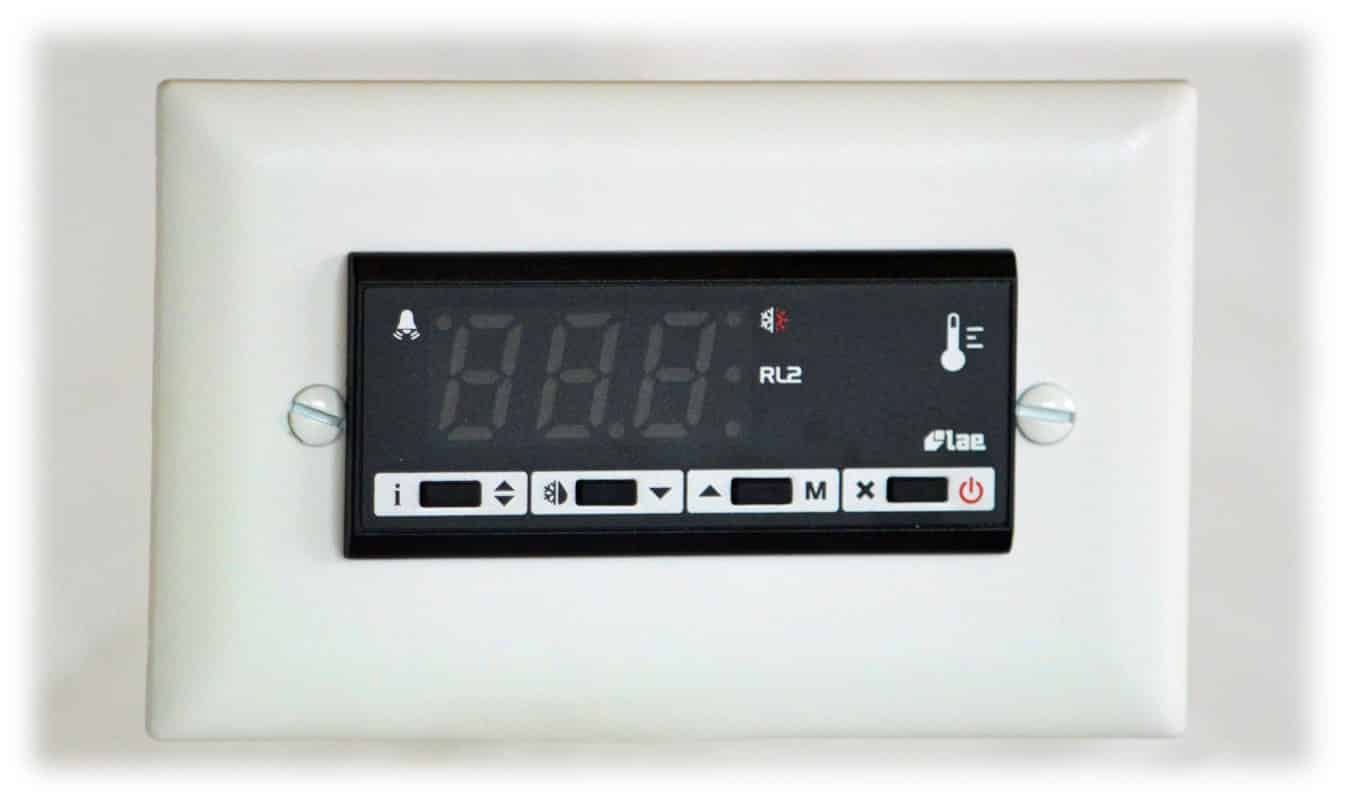
US Cellar Systems’ Digital Controller in Plate. CLICK HERE to see the DC controller product page.
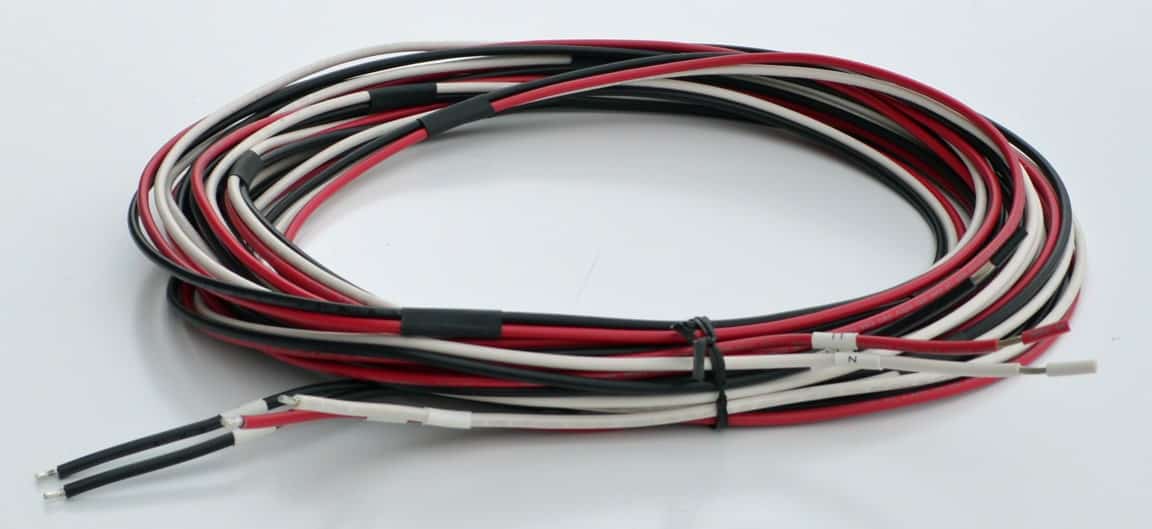
This will allow you to mount into a standard 20 or 23 cubic inch electrical box. We also offer an optional 25-foot wiring harness for you.
Installation Through the Plate
When installing the controller in a wine room, or wine cellar, you place it through the plate and then push your mounting clips onto the back of it. That mounts the controller to your digital controller mounting plate. Then bring your wires in through the back of your electrical box, wherever you have it mounted. Be sure you follow code when you do this.
>>See our full installation accessories page.
High Voltage Installation
This is a high voltage system, and your wiring will most likely have to be run in a conduit. You will also want to bring your temperature sensor in through the back of it and be sure it does not come in at the same place as the high voltage electrical wiring because the magnetic field of the high voltage wiring can distort your readings on the low voltage wiring. So when you’re making your connections at the back of the controller, with the standard wiring harness, you’re going to have two black wires, a white wire, and a red wire.
Wire Placement

For HVAC Contractors we recommend this wiring harness in the installation of wine cellar cooling units. CLICK to learn more about wiring.
You’re going to need a small screwdriver to work the screws on the back of the wine cellar cooling unit controller. Your first black wire will go into the connection at number 5 on the back of the digital controller. Your second black wire goes into number 2 on the back of the controller. Your white wire goes into number 4, and the red wire will go into number 3. Once those connections are made and tightened down, your wire for your temperature sensor will go into number 10 and number 11.
Location of the Wine Cellar Cooling Sensor
Now the best location to put the wine cellar cooling sensor itself is as close to the return air as possible of your evaporator coil. If the 5-foot lead that it comes with is not long enough, you can extend this up to 50 feet with an 18 gauge thermostat wire.
Once all of your connections are made, the digital controller is slid into the box, and the screws tightened down, which finishes the installation of the digital controller itself. After that, we’ll be ready to go on to the wiring of the evaporator coil for your wine cellar refrigeration system.
Need Help with Wine Cellar Cooling Installation of Units?
Thank you for listening, we hope this video has been helpful.
Questions?
>>Call us at +1 (562) 513-3017
or


